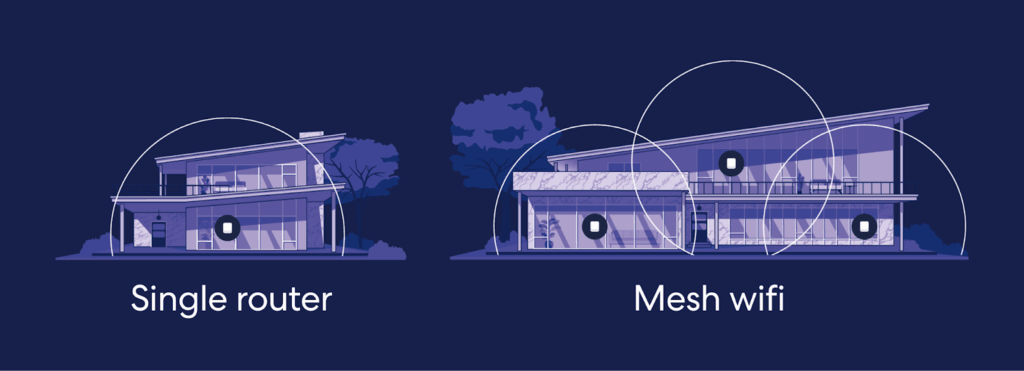
- Mesh wifi uses multiple nodes instead of a single router to extend coverage across your home.
- You can usually add mesh to your existing router—just check its age, ISP rules, and band support first.
- Confirm your internet speed and home size so you know how many mesh nodes you’ll need.
- Setup is typically simple: Prep the router, choose Ethernet backhaul when you can, connect the main node, then place nodes to help eliminate dead zones.
- Keep things running smoothly with speed tests, smart band steering, and regular firmware updates.
- eero mesh wifi makes setup and management easier with app-guided installation and whole-home coverage.
How to add mesh wifi to your existing router: a step-by-step guide
Patchy wifi is more common than you might think—68 percent of households reported wifi problems in the past 12 months.
The good news is that mesh wifi can help.
Mesh wifi transforms your home or business into a web of connectivity that covers every inch. No more wifi dead zones, slow websites, or buffering—just a smooth, uninterrupted connection wherever you need it.
This guide will take you through each step of the setup process.
What is mesh wifi and how does it work?
Mesh wifi is the modern solution to an age-old problem—poor coverage.
Unlike traditional routers, which send signals from one single point, mesh wifi creates a network of connected nodes that talk to each other, delivering strong, reliable internet in every corner of your home. If you’re struggling with weak connectivity in certain rooms, understanding how to boost wifi signals through walls can help improve performance.
Mesh wifi vs. traditional routers
Traditional routers can handle basic needs in smaller spaces, but as your home or office expands, so do the demands on your network.
A mesh router can connect multiple nodes to form a strong, unified, high-performing network. This creates consistent coverage across larger areas, eliminating dead zones and ensuring a seamless connection—whether you’re streaming the newest movie, gaming, or working from home.
If you want even more reliability in key rooms—like a home office or media setup—you can connect some nodes with ethernet cables (called an ethernet backhaul). This can make the connection between nodes more stable and maintain consistent speeds.
Can you add mesh wifi to any router?
In most cases, you can add mesh wifi to your existing router. However, there are a few key factors to consider before you dive in:
- ISP restrictions – Some routers provided by internet service providers (ISPs) come with limitations that can affect compatibility with mesh wifi systems. These restrictions can include preset configurations or locked settings that prevent easy integration. In those cases, putting your router in bridge mode can help it work more smoothly.
- Dual-band or tri-band support – For optimal performance, mesh wifi systems work best with multiple frequency bands. Routers with multiple bands allow for better distribution of traffic, ensuring that your mesh network operates efficiently without congestion. Dual-band is great, tri-band is better.
What to check before setting up mesh wifi
Before you commit to a mesh wifi network, take a moment to check if your setup is compatible to ensure a smooth installation. You’ll want to assess the router, your coverage needs, and your existing internet equipment (modem, gateway, etc).
Router compatibility
Good news: You don’t need a special “mesh-friendly” router to use eero. In most homes, eero either replaces your existing router or works alongside your ISP-provided modem or gateway.
If you’re using an ISP-provided modem or router, you can usually leave its default settings as they are. eero systems are designed to work alongside most ISP equipment without special configuration—just plug eero into an available Ethernet port and follow the steps in the eero app.
Internet speed and coverage needs

Your mesh network is only as strong as the connection behind it. Check that your internet plan can handle mesh wifi speeds, then determine how many satellite nodes your space needs for smooth, whole-home coverage.
Larger homes or offices might need extra nodes to eliminate weak spots—eero Pro 7 helps you stay connected seamlessly.
Bridge mode vs. network address translation (NAT) vs. double NAT
Choosing the right network setup is key to avoiding connectivity headaches. Here’s what you should know:
- NAT mode (recommended) – In most homes, the simplest and most reliable option is to have one device act as the router and handle DHCP (Dynamic Host Configuration Protocol) and NAT (network address translation). If your modem has a built-in router, you can often put it in bridge mode so it acts only as a modem while your main wifi router or mesh system handles routing.
- Bridge mode – Bridge mode turns off a device’s router functions (like DHCP and NAT) so it simply passes the internet connection to another router. Use this if you want an ISP modem/router to act only as a modem, or if you’re using a second device as a wifi access point. Some router-specific features may not be available in this mode.
- Double NAT – Double NAT happens when two routers on the same connection are both doing NAT, such as a modem/router combo and a separate wifi router. This can work for everyday browsing and streaming, but may cause issues for things that rely on incoming connections (like some online games, remote access, or certain VPNs), so many people either put one device in bridge/access point mode or carefully set up port forwarding on both.
How to add mesh wifi to your existing router
Setting up mesh wifi with your existing router is easier than you think. Follow these steps to enhance your network and eliminate dead zones effectively:
1. Prep your existing router – Before diving in, make sure your current router is set up properly: Place it in a central location, restart it to clear any temporary issues, and update firmware for better security and performance.
2. Choose your connection type – Ethernet backhaul is the fastest and most stable option if wiring is an option. A wireless connection is more flexible, though it may experience a minor loss in speed.
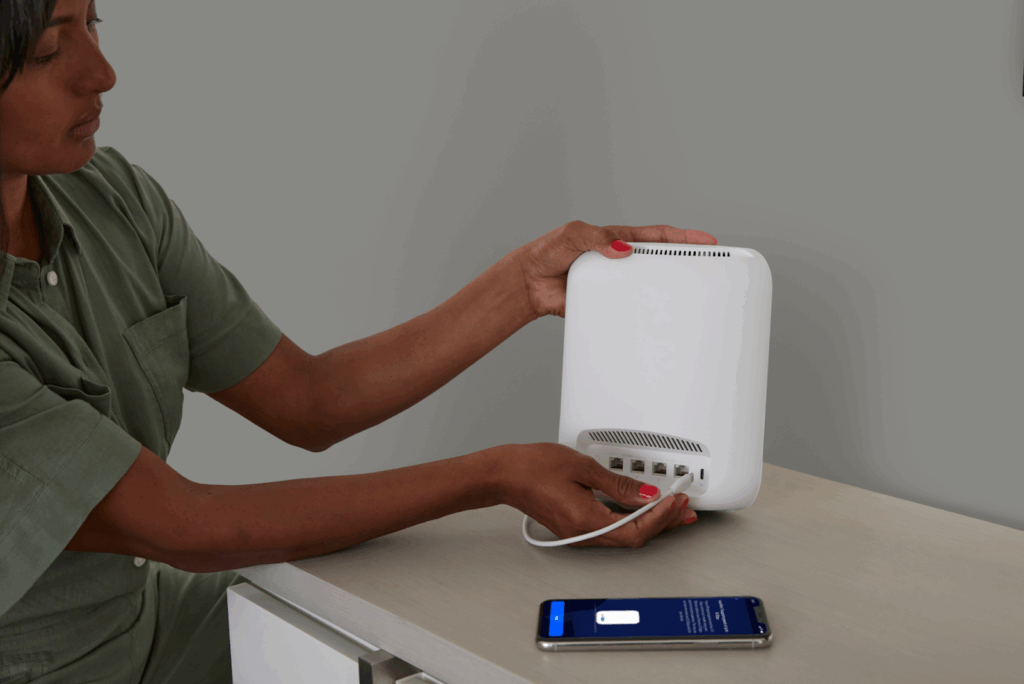
3. Connect the primary mesh node – Plug the main mesh node into your existing router via an Ethernet cable, and power it on to establish a connection. Then, use the mesh system’s mobile app for guided setup.
4. Configure your router and mesh system – Open your router’s settings menu to adjust network options, and enable bridge mode to avoid conflicts between your router and the mesh system. Then, set the same network name (SSID) and password for a streamlined connection across all devices.
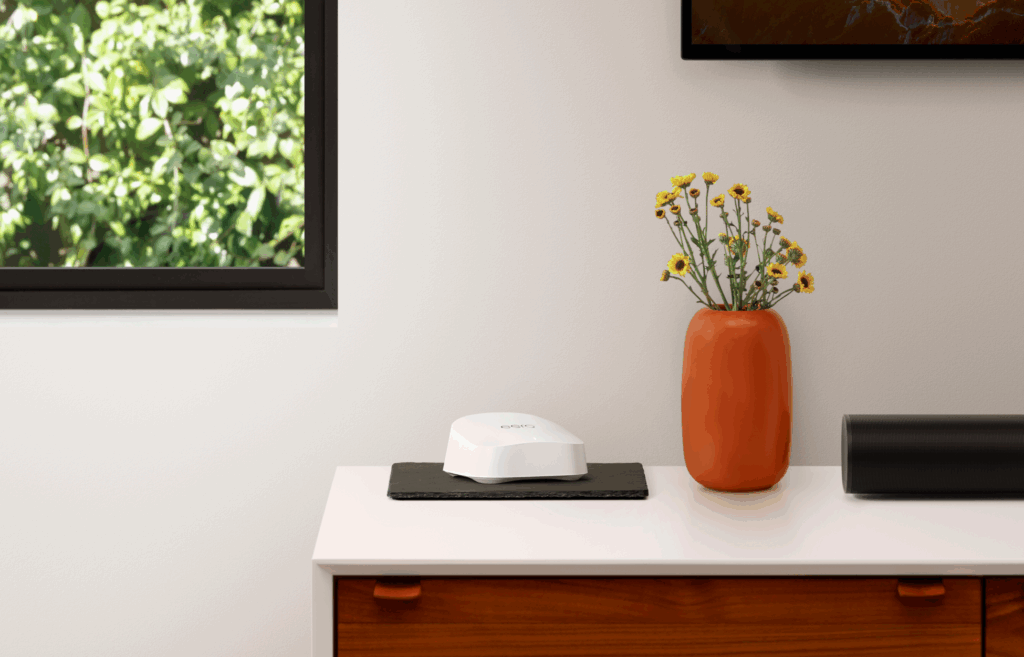
5. Position your mesh nodes – Place each node on a hard, flat surface (like a shelf, table, or countertop) about halfway between your primary node and any dead zones, rather than in the dead zone itself. Keep nodes off the floor and out in the open—not inside cabinets—and try to place them around mid-room height. Whenever possible, avoid thick or dense walls and keep nodes away from large metal appliances or other sources of interference so they can “see” each other and maintain a strong signal.
6. Optimize your mesh wifi for peak performance – Run a wifi speed test in different areas to fine-tune node placement, and adjust node placements if you find weak spots. From there, eero automatically enables band steering to keep devices on the best frequency and keep firmware updated for better security and stability.
Transform your router into a whole-home solution

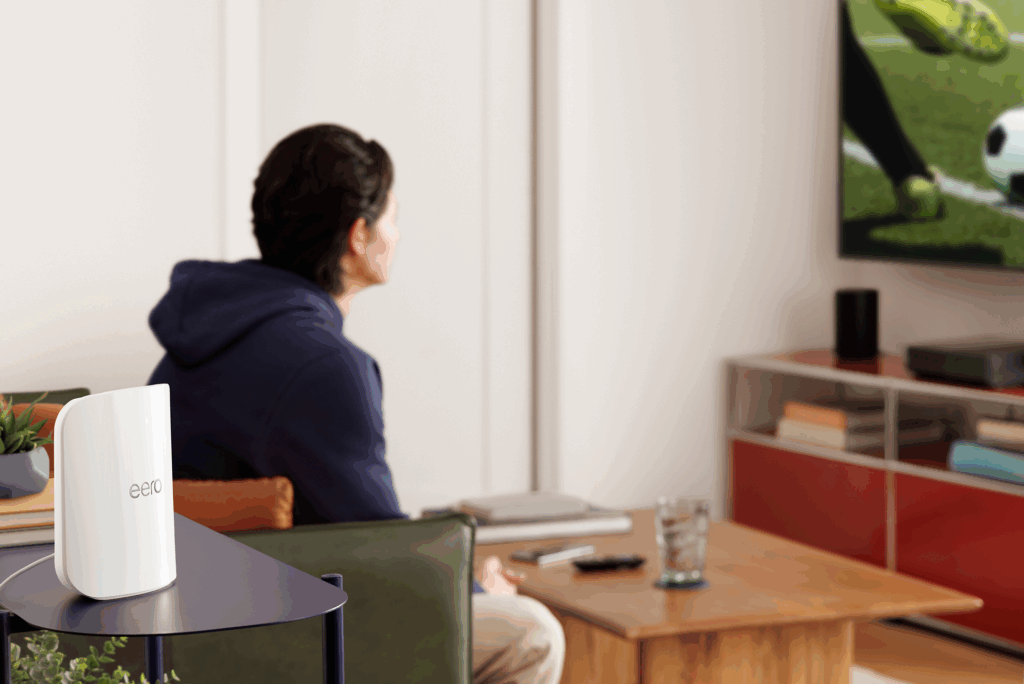
Adding mesh wifi to your existing router can turn a single access point into a whole-home network, providing more consistent coverage and helping reduce dead zones. That means fewer dropped calls, smoother streamings, and more reliable connections for everyone using your network.
Why choose eero mesh wifi?
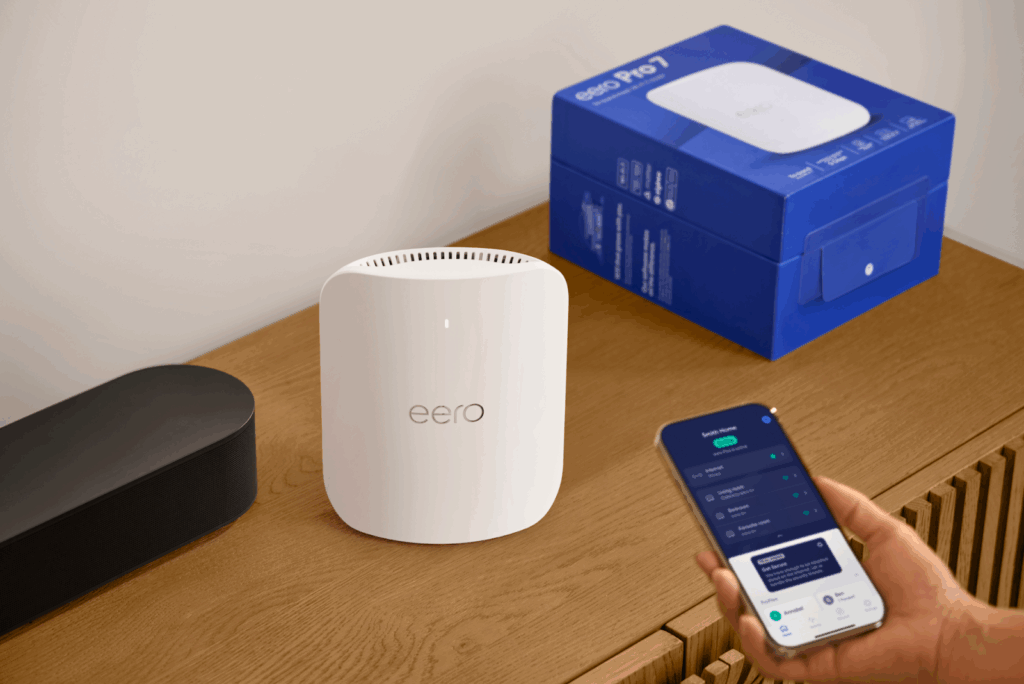
When you’re ready to upgrade your existing router with mesh, eero is designed to make it simple. You can set up wifi in minutes with the eero app, which walks you through connecting your eeros and placing them for better coverage. Once you’re online, eero automatically delivers software and security updates in the background and lets you manage your network from virtually anywhere.
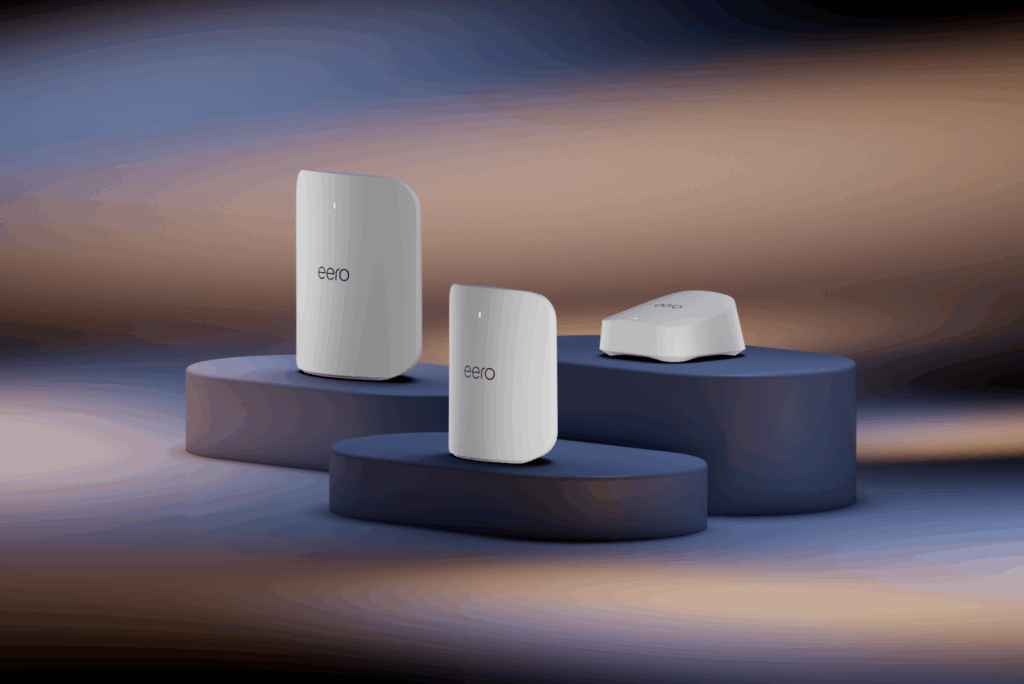
For most homes adding mesh to an ISP-provided router, a 3-pack of eero 7 is a strong starting point—it’s Wi-Fi 7 supporting 120+ devices, with each router providing 2,000 square feet of coverage. For more bandwidth and busier households, the eero Pro 7 adds tri-band Wi-Fi 7 with access to the 6 GHz band, providing up to approximately 3.9 Gb/s of wireless throughput and coverage of roughly 2,000 sq. ft. per router—ideal for high-speed plans and numerous devices.
Need a truly high-end setup on top of your existing router? The eero Max 7 is eero’s Wi-Fi 7 flagship, offering tri-band speeds of up to approximately 4.3 Gb/s over wifi, multi-gig backhaul, dual 10 GbE ports for wired connections of up to 9.4 Gb/s, and coverage of around 2,500 sq. ft. per router.
All Wi-Fi 7 eero systems are backward compatible with many previous eero generations, so you can start by adding mesh to the router you already have and keep expanding or upgrading your eero network over time instead of replacing everything at once.
Sources:
Benton Institute for Broadband & Society. The State of Home Connectivity 2025.
Media of Computer Science. Wi-Fi Optimization with Wireless Mesh Networks.
Introduction to Wireless Communications and Networks. Backhaul Network.

You must be logged in to post a comment.