5 ways to improve your WiFi
Think about the devices and services you use every day — computers, phones, tablets, connected TVs, light bulbs, thermostats; the list goes on. But many of us don’t stop to think about the technology these devices rely on to power our favorite activities: WiFi.
WiFi’s been around three times longer than the iPhone, and more than twice as long as Facebook and YouTube. Many years and versions later, these devices and services have evolved to meet users’ changing demands. But the wireless technology behind them hasn’t kept up with the times. Consider this: Apple launches a new iPhone every year, yet your router probably still looks like it belongs alongside a Motorola StarTAC, or at least a Razr.
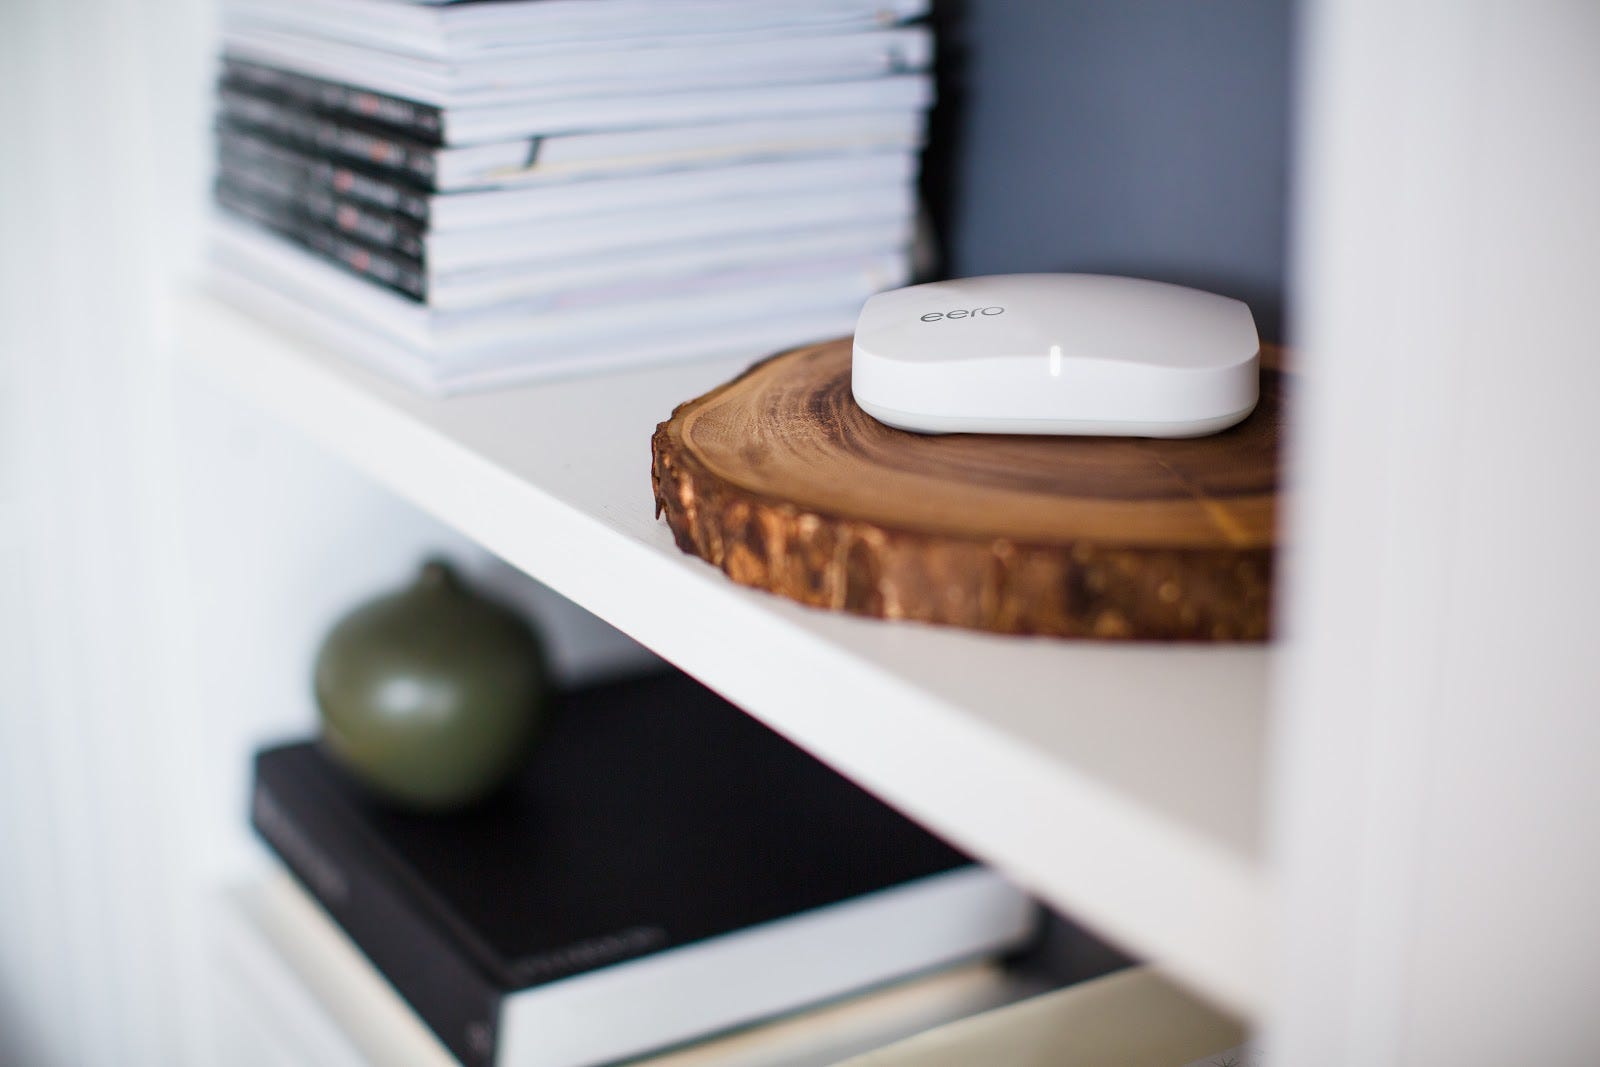
At eero, we’re working to solve the pain points many people experience with their current home WiFi “solution” — making the setup simple, the design beautiful, and the WiFi work everywhere in your home, all the time. But if you don’t have an eero WiFi system, we still want to drop some knowledge about how to hack your WiFi to improve your experience. Here are some tricks that will give your old router a face lift (or at least a makeover):
1. Move it or lose it
Unfortunately, the WiFi signal doesn’t know where in your house you like to work or stream Netflix. That means the placement of your router is really important — so unearth it from the dusty basement or move it out of the guest bedroom. Simply relocating your router to a more central spot in your home will do wonders for your WiFi.
We know this can be a challenge, since many people don’t have control over where their internet service provider (ISP) plumbs the cable pipe into the home. If you can’t move your router to another location, elevating it on top of a table or shelf can help the signal spread more efficiently throughout your home.
And if the idea of keeping your not-so-slick router out in the open makes you squirm (we’re looking at you Dwell-enthusiasts), we’ve seen some pretty creative router disguising DIYs. Check out this Pinterest board for a few ideas. Just keep in mind that concealing your router can affect the quality of the signal, so aim for a minimalist approach.

2. Change the channel
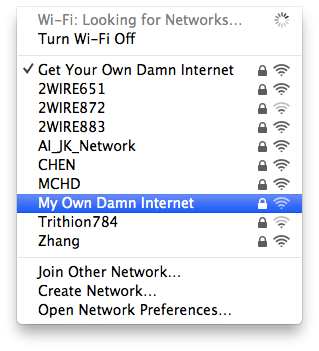
Channel surfing doesn’t just apply to TVs. Routers are built with several channels, and your current channel could be interfering with your neighbor’s signal — and vice versa. The 2.4GHz band used by most older routers is divided into 13 different channels, similar to radio stations. And like a half-tuned radio, adjacent channels can mix with other frequencies, making them weak and unusable. By competing with other signals in the vicinity, your WiFi takes a huge hit. For sardined city dwellers who live in buildings with a lot of bandwidth-hungry neighbors and devices, this is a big issue (that’s caused many a passive aggressive network name war).
Instead of forcing all of your devices to compete across the whole length of the spectrum, set your router to a different channel. Here’s how to manually change your router’s channel:
- Channel surf. The first step is to determine what channel you’re on, as well as router channels in your vicinity. To do this, try a free scanner like WiFiInfoView or inSSIDer. Channels 1, 6, and 11 are the most common and most routers will use one of these by default. For a faster signal, stay as far away from overcrowded channels as possible.
- Locate your IP address. This should be in your router’s user manual, or may be printed on the bottom of the router itself. It’ll likely look something like this: 10.0.0.1 or 192.168.1.1. Next, access the router’s web interface by navigating to https://<IP address>. You’ll be prompted to enter the router’s name and password — these details will also either be in the manual or printed on the router itself. Pro Tip: update your password from its default setting for a more secure network (and to get rid of that cumbersome alphanumeric password you can never remember!).
- Change the channel. From the web page, look for WiFi settings — the router’s channel number should be selectable via a drop down menu. Once you know your current channel, select “Wireless Setup” in the menu and choose “Manual Wireless Network Setup.” (Note that this language can vary for different router manufacturers.) Select your new channel and save the settings. Your router will likely reboot to apply the changes.
- Voila! Channel changed.
3. Avoid interference
You can start by getting rid of your cordless phone — and everything you own from 1997. Only kidding; hang onto the collector’s edition Titanic VHS box set. But in all seriousness, radio frequency emitting electronics like microwaves, cordless phones, Bluetooth headsets, WiFi enabled baby monitors, and even your neighbor’s router crowd WiFi signals on the 2.4GHz band. With all these devices competing for a finite amount of spectrum, you’ll likely experience interference and reduced speeds. To boost your connection, consider moving your router away from household items that might interfere. Also, metal is especially detrimental to WiFi signal strength, so avoid placing your router near any large metal appliances or objects, like refrigerators and microwave ovens.
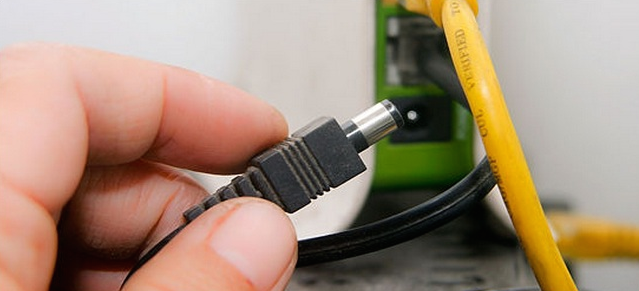
4. Unplug and replug
Imagine your router is a working machine, like your brain. It just doesn’t perform as well after several sleepless days, does it? Regularly rebooting your router at off-peak times of the day can help keep it running smoothly, and can prevent having to unplug it at less convenient times, like the middle of an intense Game of Thrones scene. The old “unplug and replug” is also the first thing that a tech support person from your ISP will ask you to do when you call, so beat them to the punch. To make this process less annoying, try plugging your router into a smart plug that you can turn on and off from an app on your phone.
5. Stay up-to-date
We know the frustration of finding, downloading, and waiting for firmware updates. But for older routers, this is one of the most important practices to keep things running smoothly. Ensuring that you have the most up-to-date software available also helps protect your network from any security threats.
Here’s how to upgrade your firmware manually:
- Determine your router’s make and model. This is usually located on the bottom of the router and is a series of numbers near the manufacturer’s logo.
- Locate the update. Using a web browser, navigate to the router manufacturer’s website. Find the “support” or “downloads” section and select or enter your router’s model number.
- Download the update. After you’ve selected your model number, select the link to download the latest firmware update and save the file to your desktop.
- Locate your IP address. Again, you can find this in your router’s user manual, or printed on the bottom of the router itself.
- Access the web interface. Use the default gateway number or IP address to access the web interface for your router. Type either the gateway or IP address into the address bar of your browser and hit “Enter.” It should look like this: https://<IP address>.
- Upgrade. Navigate to the firmware upgrade option within the web interface (it’s usually listed under “Administration”). Once you locate this, a dialogue box will prompt you to select the file from a location on your computer. Click the “Browse” button and locate the firmware update file you previously downloaded and saved to your computer. Once you have located the file, click “Upgrade” or “Update Firmware” and wait for the firmware process to complete. You may need to be connected to the internet via Ethernet for this process.
- Boom. You’ve been upgraded.
6. Bonus tip: get eero
Tried all of the above WiFi hacks and still can’t FaceTime from your bedroom? Cue eero.
eero creates a wireless mesh network that blankets your entire home in fast, reliable WiFi. Unlike a single router, eero’s distributed model ensures you can connect from any room in the house, on any device. And because it’s a mesh network, you won’t run into the same interference issues as with traditional routers, since you’re always close to an internet access point. eero updates automatically, bringing new features that make your system better over time. If there’s ever a problem, eero fixes itself before you even notice, keeping your network safe and secure.
So, one more episode of House of Cards in the den? Please and thanks, eero.